Episode Number: 10
Original Air Date: November 10, 1991
Directed by: Karen Peterson
Written by: Christy Marx, Bridget McKenna
First Appearance: Princess Felicia, High Artificer
Last week on Bucky O’Hare and the Toad Wars, we met the Corsair Canards and by doing so gained a little insight into Dead-Eye Duck’s past. This week, it’s all about Jenny and her home world of Aldebaran. We know it’s a world with a secret as Jenny has been forced to hide the extent of her powers from her comrades. Back in the episode “The Good, the Bad, and the Warty” we saw her telepathically confer with a character she referred to as Mother Aldebaran as she sought permission to use her powers in front of her friends to get them out of a potentially fatal situation. And even though not using her powers meant death, this superior did not really give her permission to go all out, but did suggest a maneuver she thought would go undetected that ended up working.

This episode introduces Jenny’s apprentice, Princess Felicia.
In the comics, Dead-Eye refers to Jenny as a witch, though I don’t recall such terminology being utilized in this series. As far as we know, the Sisters of Aldebaran are a bunch of psychics – essentially a planet of Jean Greys. We’ll get more of an understanding in this episode on what goes on there, but there are still a lot of questions left unanswered. Interestingly, we don’t see a single male amongst their people so how they reproduce is a mystery (there is a shot of a female rocking a cradle so they do indeed reproduce somehow). It’s also a big planet, so maybe we just saw a tiny piece in which only females reside. I think it’s definitely safe to assume that only females possess these wondrous powers.
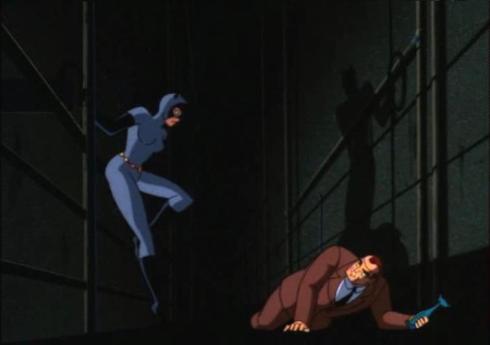
The episode begins with Jenny combating a droid of some kind. She’s jumping and flipping and doing all kinds of impressive things before destroying it with her powers. Nearby, Princess Felicia (presumably Margot Pinvidic. Cast info on this show isn’t great, but no women other than her appear in the credits so I’m left to assume she handles all of the female voices in this episode) is watching and is impressed with the abilities of Master Jenny. It seems Felicia is Jenny’s apprentice and Jenny has returned to give her some training as she nears an important milestone in her young life. It’s then we see the two turn to a training device that is apparently the source of their powers. It’s a little, greenish, ball of light that the two refer to as a Quark demon. Jenny releases it into the air and Felicia is supposed to try and corral it.

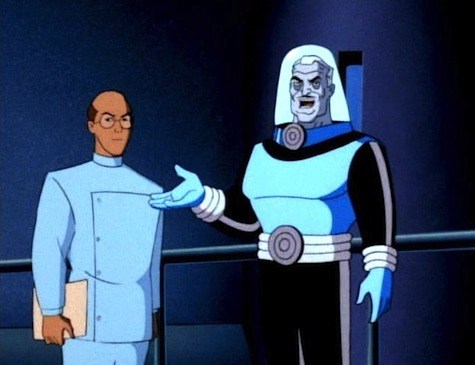
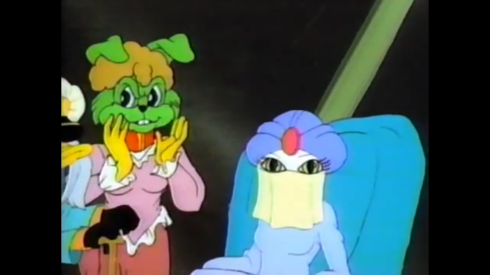
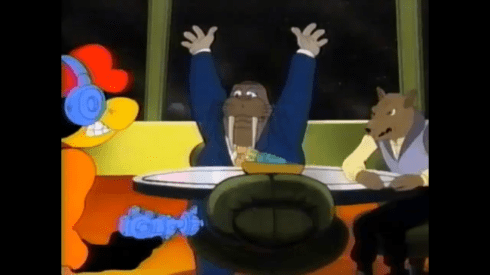
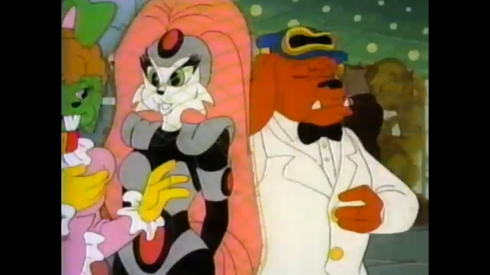
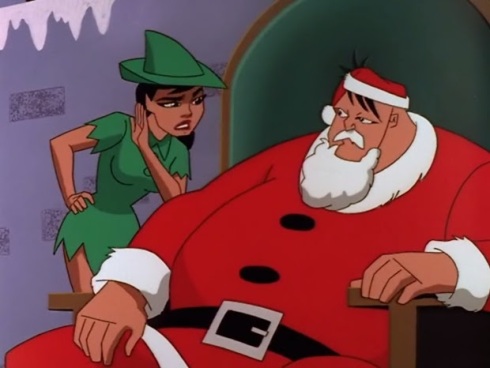
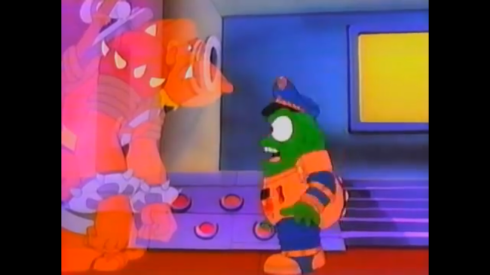
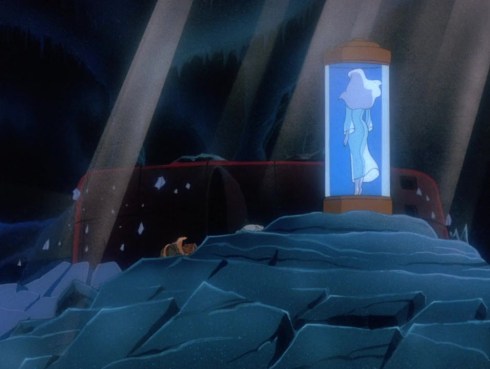
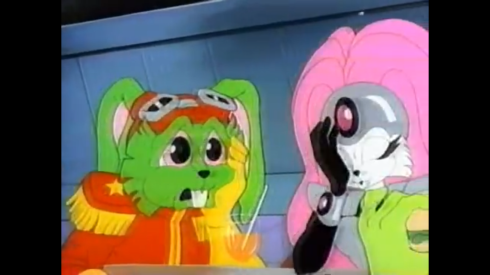
It’s tea time with the High Artificer of Aldebaran.
Nearby, Bucky O’Hare and the others are enjoying tea with the High Artificer. She’s an older cat who is also the grandmother of Princess Felicia. She does not resemble the individual Jenny referred to as Mother Aldebaran back in episode 3, so either that’s a different character or they just decided to change the appearance of that character and give her a new name. As far as we’re lead to believe, the High Artificer is the one who runs the show.

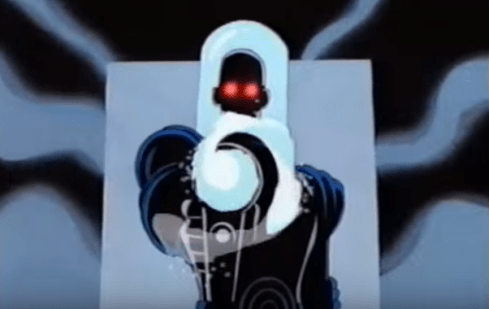
Willy encountering what powers Aldebaran sensors: a Quark demon
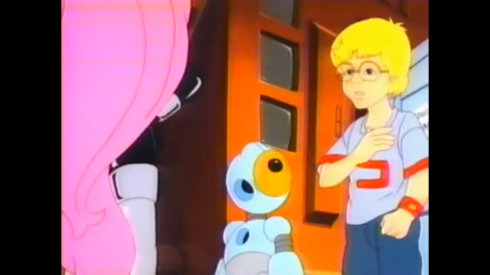
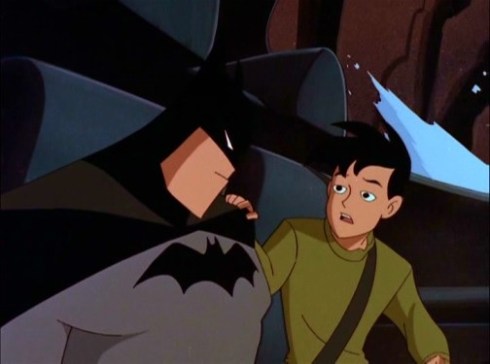
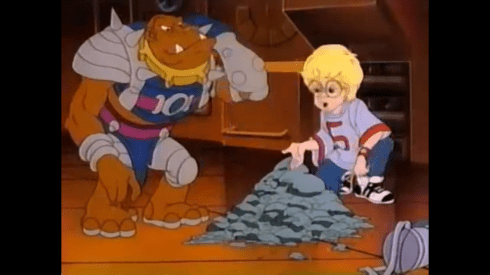
The High Artificer thanks Bucky for bringing Jenny back to their world to train Felicia. Some interest in what they’re doing is expressed, but the High Artificer informs them she can’t reveal the nature of the training to outsiders. Willy is seated by what looks like a koi pond when the Quark demon comes over the wall and buzzes by his head. He’s startled, but the scientist within him is also really intrigued. It flies back over the wall to where Felicia’s training is taking place and Willy decides to investigate by scaling a nearby tree. When he reaches the apex he’s able to see Felicia using her powers to try and catch the little ball of light. It returns to Willy, causing him to fall from the tree over the wall.
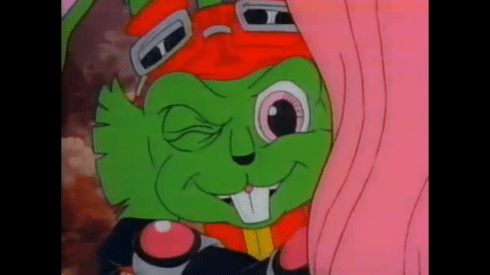
Felicia does not appear to be too impressed with Willy DuWitt.
Felicia is then able to snatch the Quark with her powers and return it to the containment vessel it came from while Jenny checks on Willy. He’s extremely apologetic, while Felicia seems accusatory towards him. Jenny vouches for Willy and thinks he meant no harm. Willy, perhaps not thinking things through, demonstrates he understands what he saw and realizes the little Quark is the source of their power and their Aldebaran sensors. Jenny tells Felicia she trusts him and that he won’t reveal their secrets. Felicia then receives some bad news from her master that she is not deemed ready to undertake her Soul Quest. With more practice though, Jenny is confident she’ll get there. Felicia is dismissive of her master’s concerns, and like most teenagers, is resistant to hearing any criticism.

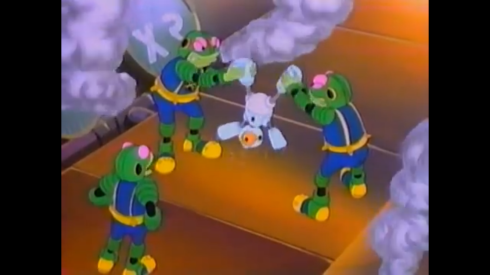
Electric Space Yam
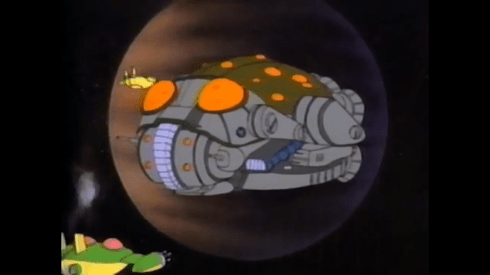
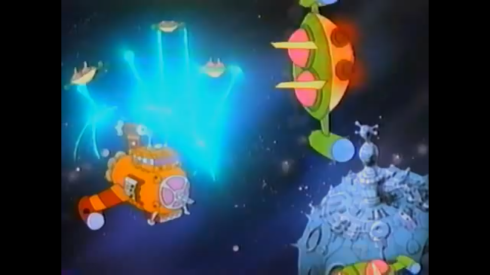
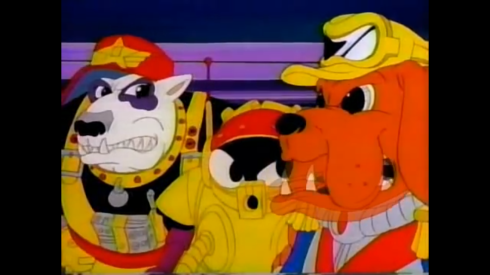
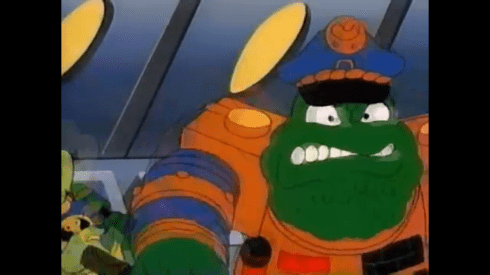
Possibly nearby in space, a Toad ship has made an interesting discovery. A nearby nebula, that kind of looks like a giant space yam, contains an extraordinary amount of energy within it. Toadborg is in charge of this vessel, and he seems quite intrigued by this so-called Dark Heart Nebula. Whatever is in there is too much for their sensors to handle, but this just causes Toadborg to remember that Bucky O’Hare has an Aldebaran as part of his crew. Apparently, Aldebarans have a reputation for having incredibly powerful sensors, but due to their secrecy, this is obviously technology not available to the rest of the galaxy. Toadborg heads to his private chambers to search his memory banks for more info since he’s had a previous encounter with Jenny. Recalling his fights with her, he concludes he’ll need the aid of an Aldebaran to navigate this nebula.

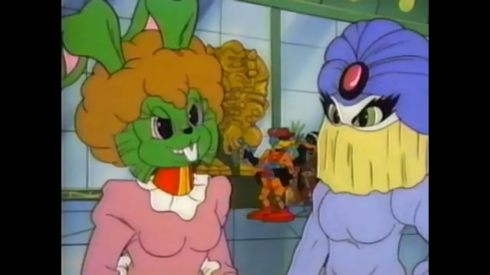
Teenagers…
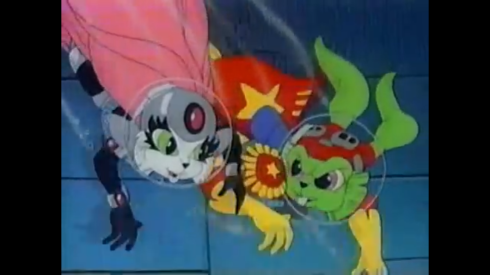
With Felicia’s session complete, the High Artificer thanks Jenny for her help. She also thanks Bucky and the crew for taking the time to come out. As they leave, we pivot to Felicia. Dressed in a flight suit, she’s determined to undertake her quest whether or not Jenny thinks she’s ready. She hops into a sleek-looking spaceship and takes off, apparently unnoticed. This puts her in direct conflict with Toadborg’s ship. They’re in the area in search of an Aldebaran and it looks like they found one. They ensnare Felicia’s ship in a tractor beam and she immediately reaches out to her grandmother to inform her what happened. Her grandmother quickly reminds her of her obligation to protect their secrets by destroying all of the sensors in her ship. She does as she’s told as her ship is boarded by Storm Troopers.

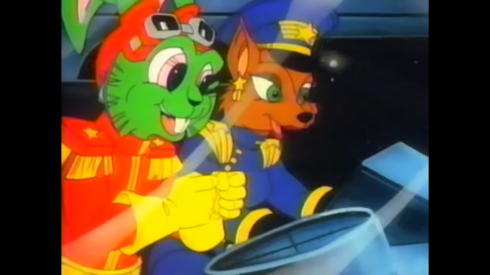
Mimi is back and as flirtatious as ever.
At a cafeteria (possibly on Genus, or just a random space station), the crew of the Righteous Indignation is getting some lunch. Bruiser wants banana everything and the writers apparently are still entertained by this bit. Jenny is back aboard the ship recalibrating the Aldebaran sensors on it and Bucky tells Willy no one is allowed onboard until she’s finished. Mimi LaFloo then pops in. She’s quite happy to see Bucky again and tells him she’s got something on her ship to show him as she pulls him away. Oh boy!
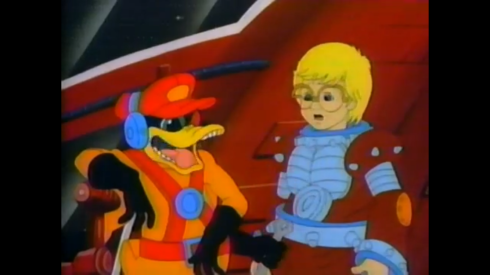
Willy just can’t be defeated in a deabte, it would seem.
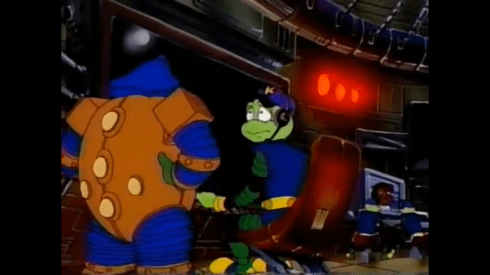
Willy and Blinky are outside the doors of the Righteous Indignation when Jenny is just about finishing up. Jenny receives word from the High Artificer about Felicia, and it falls on Jenny to attempt a rescue. Jenny makes the call to go alone, the problem is she’ll need to take Bucky’s ship. She orders Willy and Blinky off the ship, but Willy protests. While the two argue, Blinky appears to plant a device on the ship, likely some way to track it and Willy is able to convince Jenny to take him along since his door is on the ship.

I’m tough on the show’s visuals at times, but this is a nice-looking still.
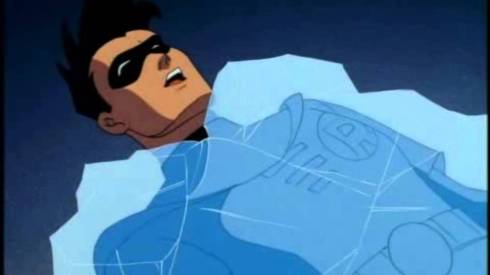
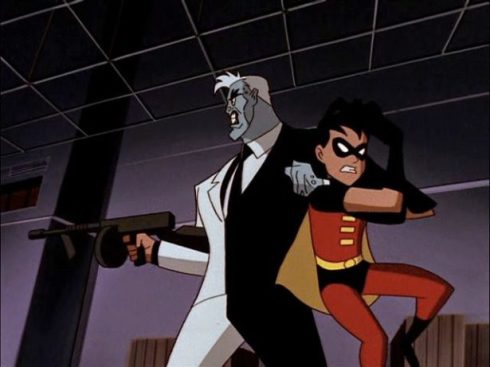
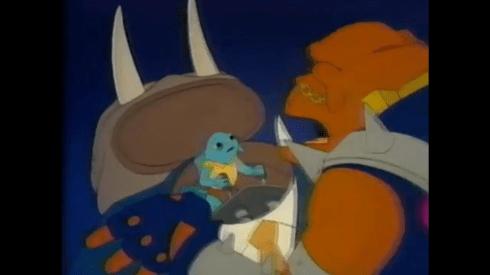
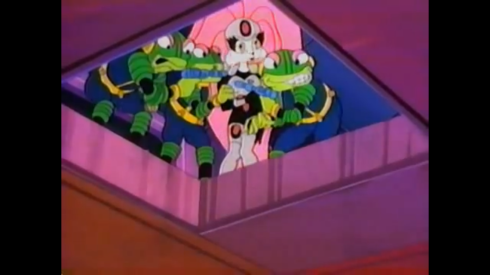
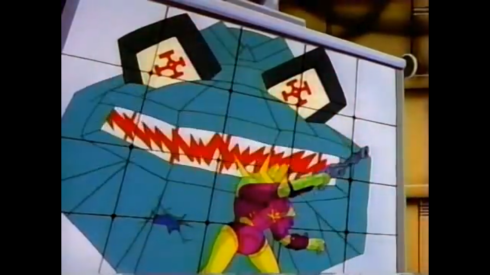
Aboard Toadborg’s ship, we get our required dose of Toad TV. It’s both a Charles Atlas parody and an Arnold Schwarzenegger one (Arnold Wartnegger). You know the one; a bully picks on a skinny kid at the beach. The twist with this one is that Wartnegger isn’t looking to pump you up, but just supply giant, bully-swatting, mallets. Surprisingly, we’re not experiencing Toad TV via Frix and Frax but actually via Felicia who is being tortured with it. She yawns indicating its effectiveness when an angry Toadborg barges in. He dismisses the tech administering the torture and then grabs Felicia and demands she take him into the Dark Heart Nebula.
“Help me Obi…I mean Bucky…I mean just forget it. I’ll be back. Dinner’s in the fridge.”
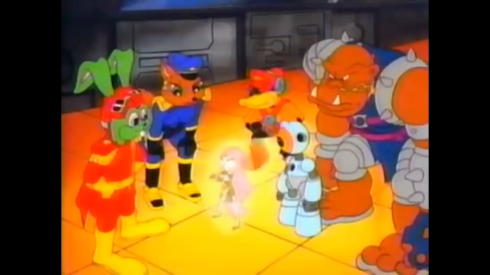
At the space station, Bucky and Mimi are apparently done with their tryst and Blinky informs him what happened. Before she left, Jenny had Blinky record a message which he plays for Bucky. Mimi turns her nose up at “the cat” so apparently this rivalry is going to go both ways. Blinky tells Bucky about the tracking device, and he commends his android and declares they’re going after Jenny. As they all run down a corridor, Bucky stops in his tracks when he and the others realize they don’t have a ship. Mimi then strolls by and, somewhat reluctantly, tells them to come join her on her frigate.
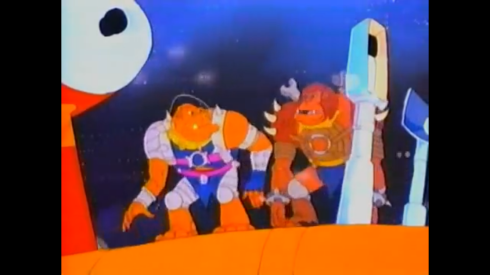
Toadborg is rather viscious in this episode and shrewd negotiator. He’s blossomed into a pretty fantastic villain.
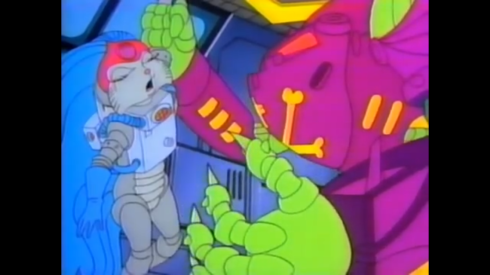
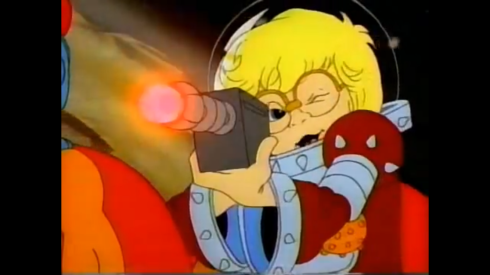
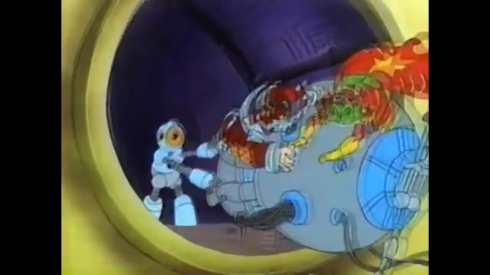
Jenny and Willy then head out towards Felicia’s last known location and find Toadborg’s ship. Jenny, with Willy at Dead-Eye’s gunner position, demands the release of Felicia. Since the princess is onboard the ship, Toadborg knows she won’t actually fire upon him. They’re on video conference, and he demands she back off as he intends to have Felicia take him into the Dark Heart Nebula. When Felicia refers to Jenny as “Master,” Toadborg decides he’d rather have Jenny take him instead. For a brief moment, Toadborg gains eyeballs so we can see him “thinking” things through. Jenny agrees to take him as long as Felicia is unharmed. Toadborg tosses Felicia around, which really causes Jenny to get mad. He reminds her that he’s in control and dismisses her threats before terminating the transmission. That was actually a well-done and rather intense exchange.
Toadborg needs Jenny to lead him through the nebula, or else he’d get lost forever. Felicia is his insurance that Jenny won’t betray him.
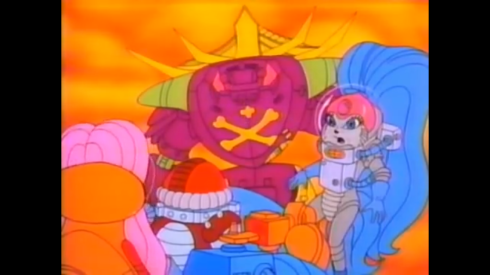
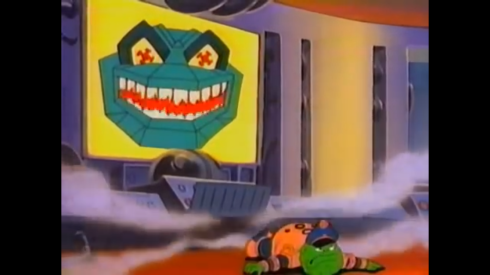
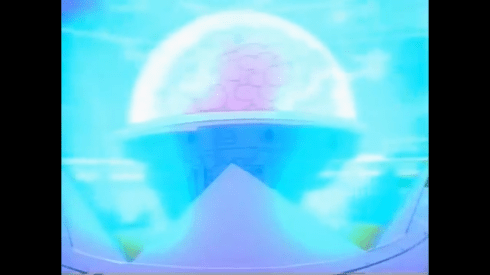
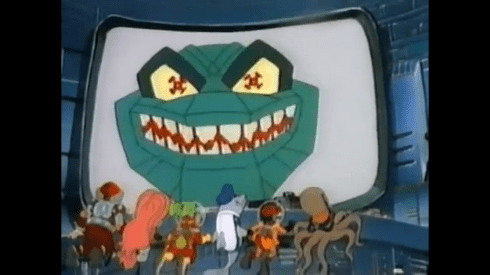
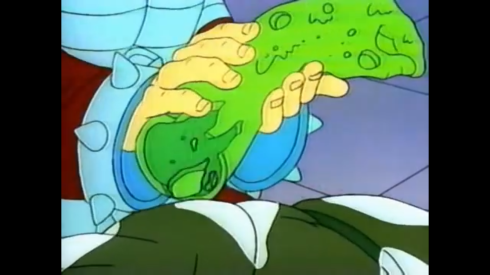
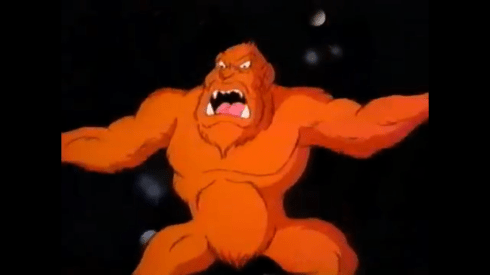
Jenny and Willy pilot the Toad Croaker into the nebula with Toadborg and Felicia following. Jenny tries to tell Toadborg this is a bad idea but he won’t hear it. As they enter the nebula they reach its center, a large grayish sphere. Toadborg can sense incredible power and is eager to taste it. Jenny tries to discourage him once more, but he tosses Felicia to shut her up. As Willy and Jenny fly off after Felicia, Toadborg shoots out this two-pronged device (insert robot penis joke here) that jabs into the gray sphere. As electricity courses through him, the sphere begins to move. It actually opens revealing that the outer layer we were looking at were actually giant bat-like wings. The sphere is a towering, naked, demon and it apparently does not like what Toadborg is doing to it. It swats the cyborg away, but it’s awake and angry and apparently not willing to go quietly.
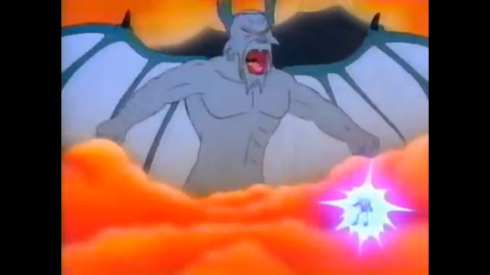
Now this is unexpected.
After securing Felicia, Jenny has Willy pilot the Croaker back towards this demonic being. She bombards it with her powers, but she’s going to need some help. She mentally reaches out to her Aldebaran sisters requesting they lend her their power. We get cuts of various cat-people in their day-to-day lives pausing to lend their aid to their sister. It’s very “Spirit Bomb” like. It’s not enough though, and Jenny continues to ask for more. Part of the problem seems to be one holdout: Felicia.

The ancient father of all demons does not go down without a fight.
Felicia gets knocked from the croaker as the ancient Quark tries to grab it. Jenny has to use her powers to keep it from crushing them while calling out to Felicia for help. When Jenny convinces the young princess to lend them her powers it’s suddenly enough and the demon goes to back to sleep. Felicia is astounded, yet confused, at what happened (aren’t we all?). Jenny tells her this is the lesson she must learn, that it’s the sum of the whole that can make a difference and sometimes it comes down to just one person making a choice. Felicia takes this in, then is instructed by Jenny to do what she came here for. Thousands of little Quark demons are flitting about and Felicia basically sucks some into the crystal on her tiara. This apparently ends her quest.

And he’s back to sleep. No harm no foul, I guess.
The Screaming Mimi, with a new orange paint-job to make it resemble the other frigates in the United Animal Fleet, shows up and drives Toadborg’s ship away. Dead-Eye is shown behind the canon, only it looks like they forgot to actually illustrate canon controls. It would also seem Mimi doesn’t have a crew of her own if Bucky’s gunner is taking the lead. The Toad ship, under heavy fire, has a reading on Toadborg’s location and retreats to rescue its captain. Aboard the Toad ship, Toadborg has been collected. He awakens with no memory of what happened. When the navigator inquires about the nebula, Toadborg snaps and says his instruments must have been wrong about it. He orders him to fix them as he stumbles off to his private quarters, presumably. Jenny then returns to the Righteous Indignation as Bucky’s voice comes over her radio. He’s curt, and orders her to pilot the ship to Aldebaran while Willy assures Jenny it’s all right and that Bucky will understand why she took the ship.

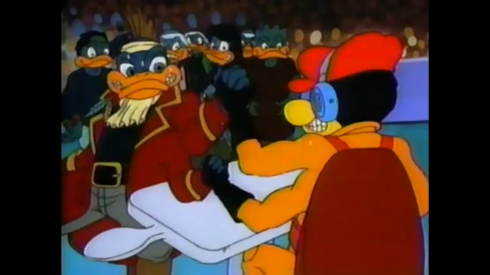
And it’s ceremony time, which means more Star Wars reminders.
On Aldebaran, a ceremony officially welcoming Princess Felicia into the sisterhood is underway. She’s awarded this title by her grandmother, while Jenny, Willy, and Bucky look on. Felicia turns to Willy to thank him and even gives him a little peck on the cheek. What’s with this kid and cats? With that concluded, Jenny then turns to Bucky to apologize for making off with his ship. He says nothing, causing her to ramble on and on. Eventually she implores him to say something and he responds with a simple “How about ‘Welcome back?'” Jenny happily embraces him and a wink from Bucky ushers us out of the episode.

Cats really seem to love this kid.
Well, that was certainly a trip. I did not expect the source of Jenny’s powers to essentially be demonic in nature. It’s certainly imaginative, and I can see why they would want to keep that a secret. Jenny and Felicia have a solid dynamic and it’s hard not to get a Star Wars vibe from their training. The return of Toadborg is welcomed as well as he is probably my favorite antagonist at this point. This is the first episode to not feature the Air Marshall and just the second to not feature Komplex. Komplex was also missing from last week’s episode making me wish the order of episodes had been mixed up a bit. Komplex was partially taken down in “The Komplex Caper” but appeared to be back up and running in the following episode “The Search for Bruce.” Had that episode followed this one instead it would have been a nice piece of continuity to have Komplex out of action for two weeks. It’s not important in the grand scheme, but little touches like that are some of the things I appreciate most.

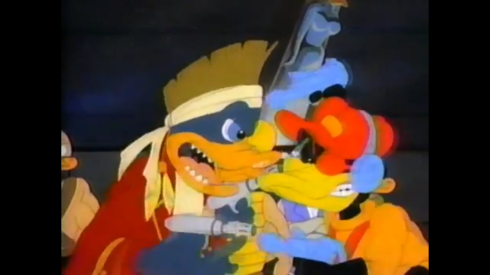
Really the only blatant visual gaffe, though it’s a pretty big one with Dead-Eye firing invisible canons.
Thankfully, this episode is much improved in the animation department over last week’s episode. I was fearful the shoddy work found in “Corsair Canards” was a harbinger of things to come, but this is a nice rebound. There’s still some errors and ugly shots, but nothing on the level of the previous episode. Toadborg looks plenty menacing when he’s on-screen, so perhaps it’s partly due to his presence that more resources were devoted to this one. He’s the most complex character model in the show, so it would make sense if more time was allocated to episodes he’s featured in, which is something I hadn’t considered previously. If that’s true well then that’s good news for us as the final three episodes all feature Toadborg in some capacity.
This is the last appearance of Mimi in this show.
Since there are only three episodes left, it probably is not surprising then to hear that the Aldebaran characters won’t be seen again. This is also the final appearance of Mimi LaFloo, so whatever conflict she and Jenny seem to have with each other will remain unresolved. Jenny seemed to just not like how forward Mimi is with Bucky, possibly feeling she’s slept her way to the top. Mimi, for her part, seems to simply view Jenny as a threat. It’s rather sad that the two most prominent females on the show are played that way. I’m also still unclear if Jenny harbors feelings for Bucky or something. The two keep things professional, giving that embrace a little extra meaning at the end of the episode.
Bucky getting cheeky with the camera.
Even with the weird demon thing, “The Artificers of Aldebaran” is a good episode of the show. I like seeing where Jenny came from, though their world could have been more interesting to look at. Felicia could have been a really annoying character, but instead she comes across as naive more than anything and perhaps a bit too confident in herself. And if my guess is correct and voice actress Margot Pinvidic did indeed perform all of the female voices in this episode, then major props go to her. She manages to come up with four mostly distinct voices for Jenny, Mimi, Felicia, and High Artificer so I wanted to give her a special acknowledgement. Hopefully the remaining three episodes are similar to this in quality. Next week’s episode, “The Warriors,” is one I have little recollection of outside of the debut of more new characters so I’m eager to check it out. See you then.
 Episode Number: 2 (87)


 Episode Number: 9


 Episode Number: 1 (86)


 Episode Number: 8
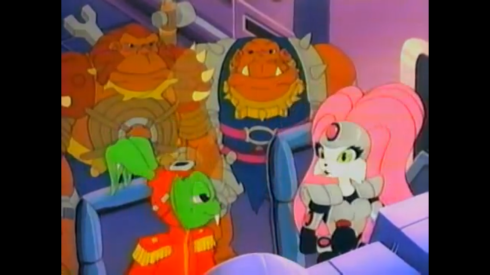


 Original Release Date: March 17, 1998


 Episode Number: 7


 Episode Number: 85


 Episode Number: 6


 Episode Number: 84