
It was a little over a year ago that I took a look at the S.H.Figuarts release Bulma – Adventure Begins. I believe I mentioned in that review that the figure I was reviewing was the second Bulma released by Bandai/Tamashii Nations for the SHF line of action figures based on the classic manga/anime Dragon Ball by Akira Toriyama. It was that version of Bulma that I was interested in because it depicted her as she appeared in the very first episode of the anime. The previous version of Bulma had not interested in me as she was in her Mad Max-like outfit from the show’s ending credits and some promotional art. For whatever reason, that version of Bulma has apparently appealed more to companies looking to make collectibles based on the show. When Irwin launched their own line of Dragon Ball toys in the early 2000s, they too went with that look. A lot of statues and other collectibles have gone with it, and I guess it’s just because these companies view their clientele as mostly male and males want to buy the rugged version of Bulma with the machinegun, not the one with the ponytail and pink skirt.
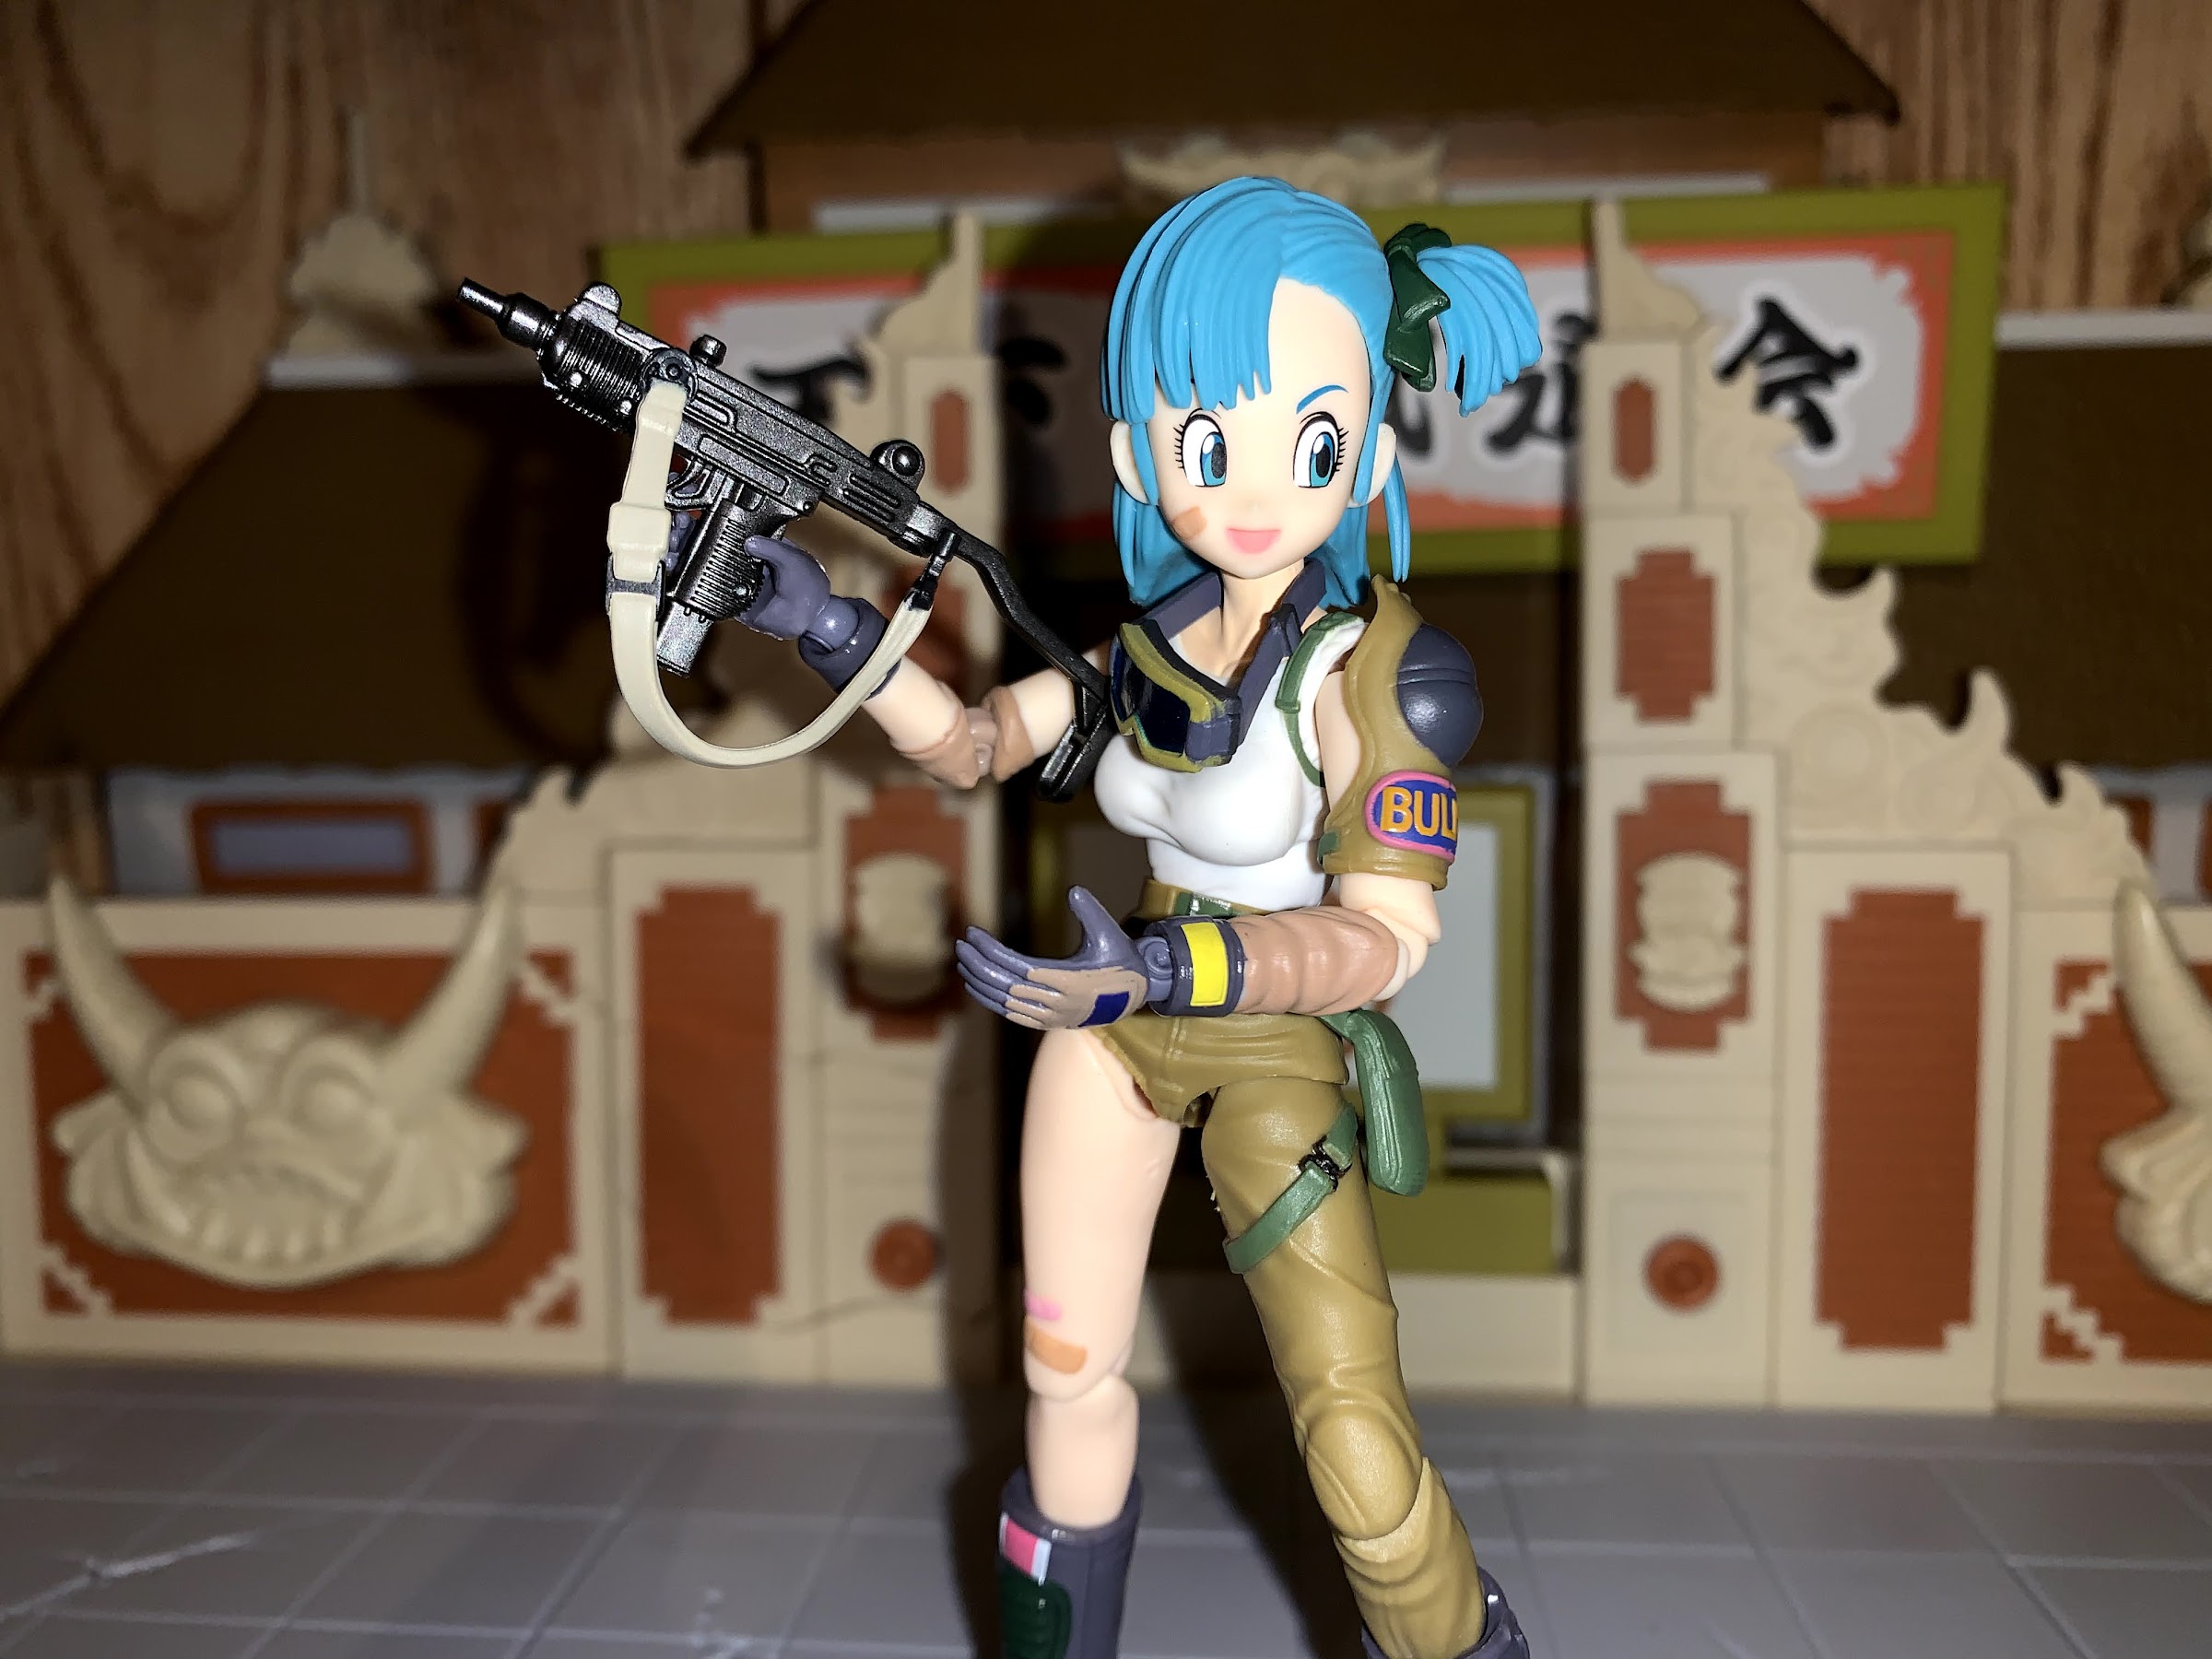
As someone with a fairly modest Dragon Ball collection, I definitely do not need versions of characters that didn’t even make it into the show. However, the past year being what it is, boredom and clearance pricing has led me to make some purchases I otherwise would not which is why I’m about to tell you all about the first version of Bulma released in the S.H.Figuarts line. Simply titled “Bulma,” this is that biker/raider/whatever iteration of the character. I believe it’s based on artwork by Toriyama, but otherwise those ending credits are where I know it from. It appears about 30 seconds into it and is preceded by quick shots of Bulma putting on her gloves and loading her gun. She’s positioned with a dirt bike too, and the Irwin release included the bike as a stand, while this version is just the figure. It’s certainly an interesting look as she’s covered in bandages and for some reason her pants are missing a leg. Her hair’s in this side ponytail and her name is emblazoned on her shoulder pad. She looks cool, a bit of a rugged cute, she just never looks like this in the actual anime.

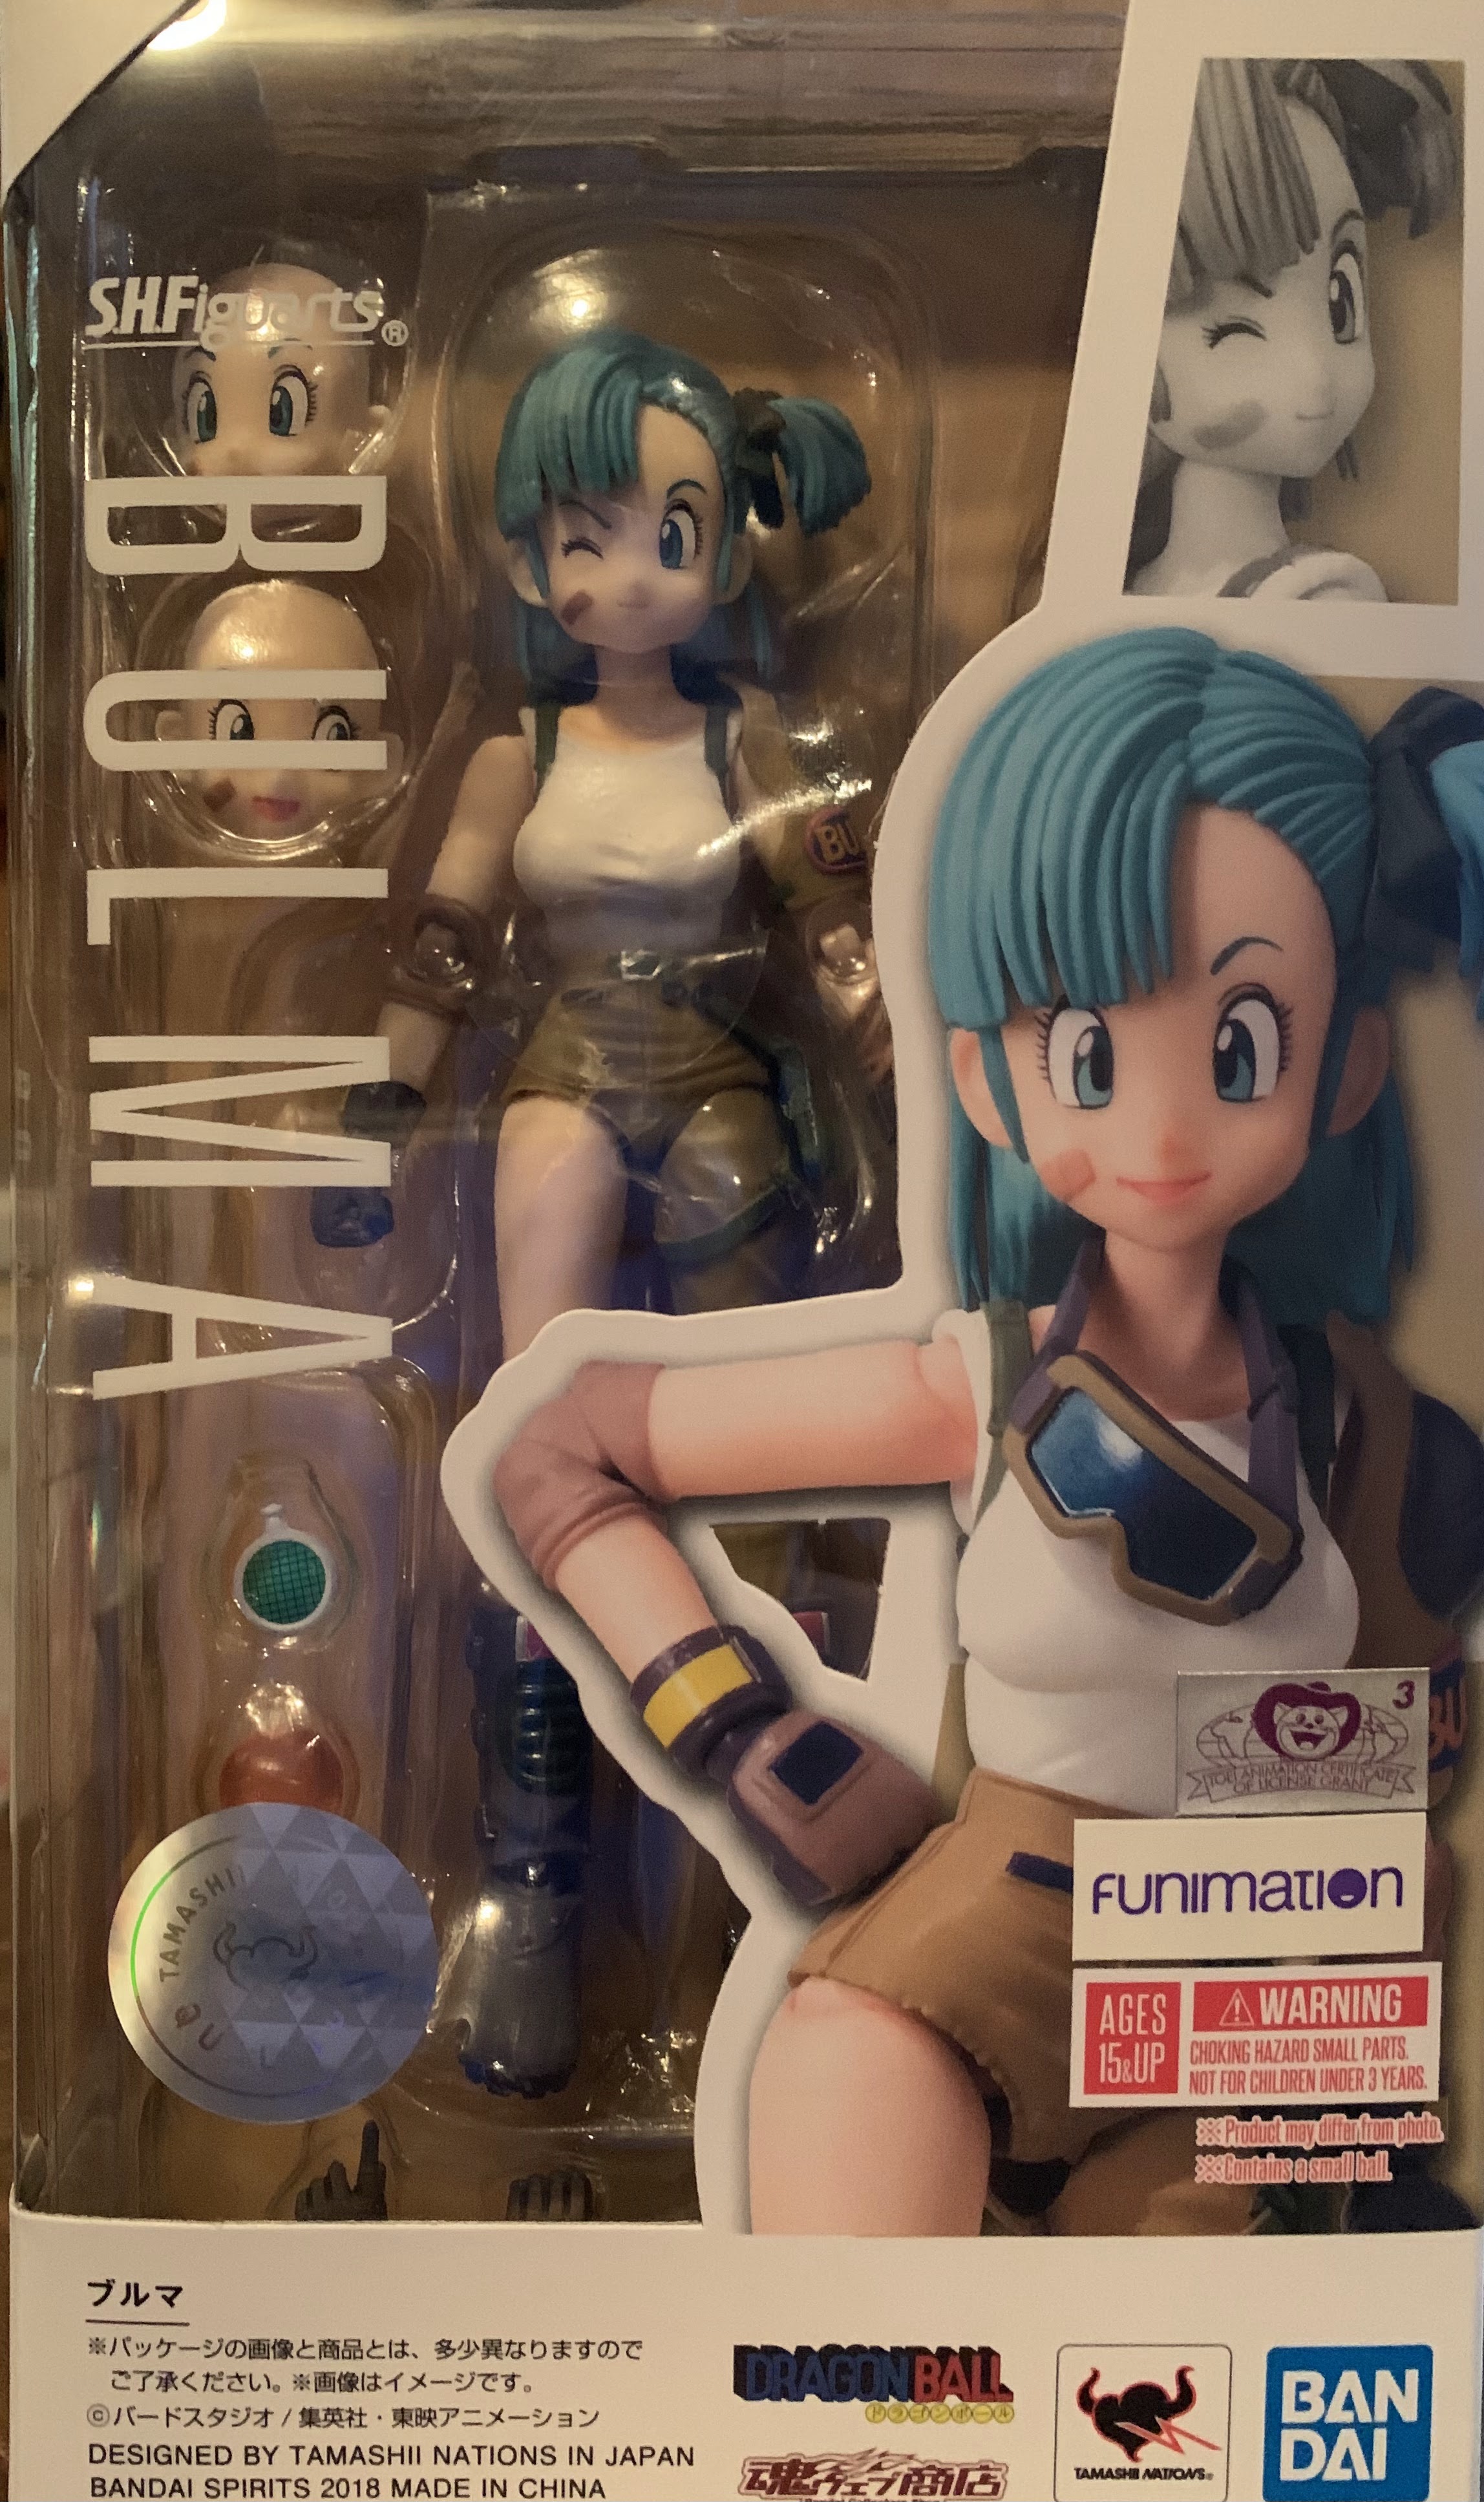
The figure basically matches that art to perfection. About the only difference I notice is she has a little grime on her exposed knee in the picture that Bandai didn’t bother to paint on. She’s about five inches tall, which makes her a little taller than Kid Goku, but doesn’t really put her in true scale with anyone in the Dragon Ball line save for maybe Tao. It’s basically a choice Bandai had to make when doing the kid characters for they’d have to be really small to be truly in scale. Bulma comes with her goggles which are basically just intended to be held or draped over her neck as they are in the image. To do so, you just pop her head off and that’s how you complete the look. A lot of the details in her sculpt are done with separate pieces like the satchel at her hip and the shoulder pad on her left arm. I’m not sure if the pad is glued on or just pegged in, but the satchel is pegged and it can be lifted up. The straps across her back and left thigh are sculpted in and painted and the paint application is very clean. The only paint issue I can find concerns some of the hands where the blue rectangle isn’t perfectly lined up with the sculpted-out area for it, but it’s very minor. I really like how her boots turned out and even the little clasps on those are painted silver without slop which is kind of incredible. My only real criticism with the sculpt and paint of this figure rests with the hair. I wish there was a wash or something added to the figure’s hair to reduce the very plastic look it has. It’s matte, but that shade of blue comes out looking a little like Play-Doh.
This figure likely shares parts with the other version of Bulma and her articulation is essentially the same. Her head sits on a fairly large ball-peg and can rotate, tilt, and look down quite a bit. Her hair prevents her from being able to look up though. At the shoulder she has ball-pegs with a small butterfly joint. She can raise her arms out past 90 degrees at the side, though you have to work with the shoulder pad on her left arm, and rotate all around. The arm swivels basically at the shoulder and above the biceps. At the elbows, she has the SHF disc joints which aren’t my favorite, but it’s what Bandai seems to go with when it’s sculpting characters with thin arms. She can bend past 90, but the joint is rather funky looking when the elbows are not bent. At the wrist she has ball joints with great range and the joint isn’t as awkward looking as it is on some figures because her hands and wrists are fully gloved. In the torso she has a ball joint just below her bust. This allows her to tilt and crunch forward and back with really no gapping issues. It works in conjunction with a ball-joint at the waist resulting in her being super flexible. At the leg, she can lift her legs out to the side a fair amount, but can’t pull off a split. She kicks forward and back to about 90 with a thigh twist up by the ball-joint. The knees use the same disc system as the elbows so they’re single-jointed, but allow the figure to go a little past 90 there as well. The joint here works a little better from an aesthetic point-of-view as the disc is only visible from the back. Below the knee, she surprisingly doesn’t seem to have a boot-cut, but she does have ball-joints at the ankle. They’re a bit limiting though, likely due to the sculpt, so she can’t go forward and back too far and the side-to-side “rocker” action is a bit limited as well.

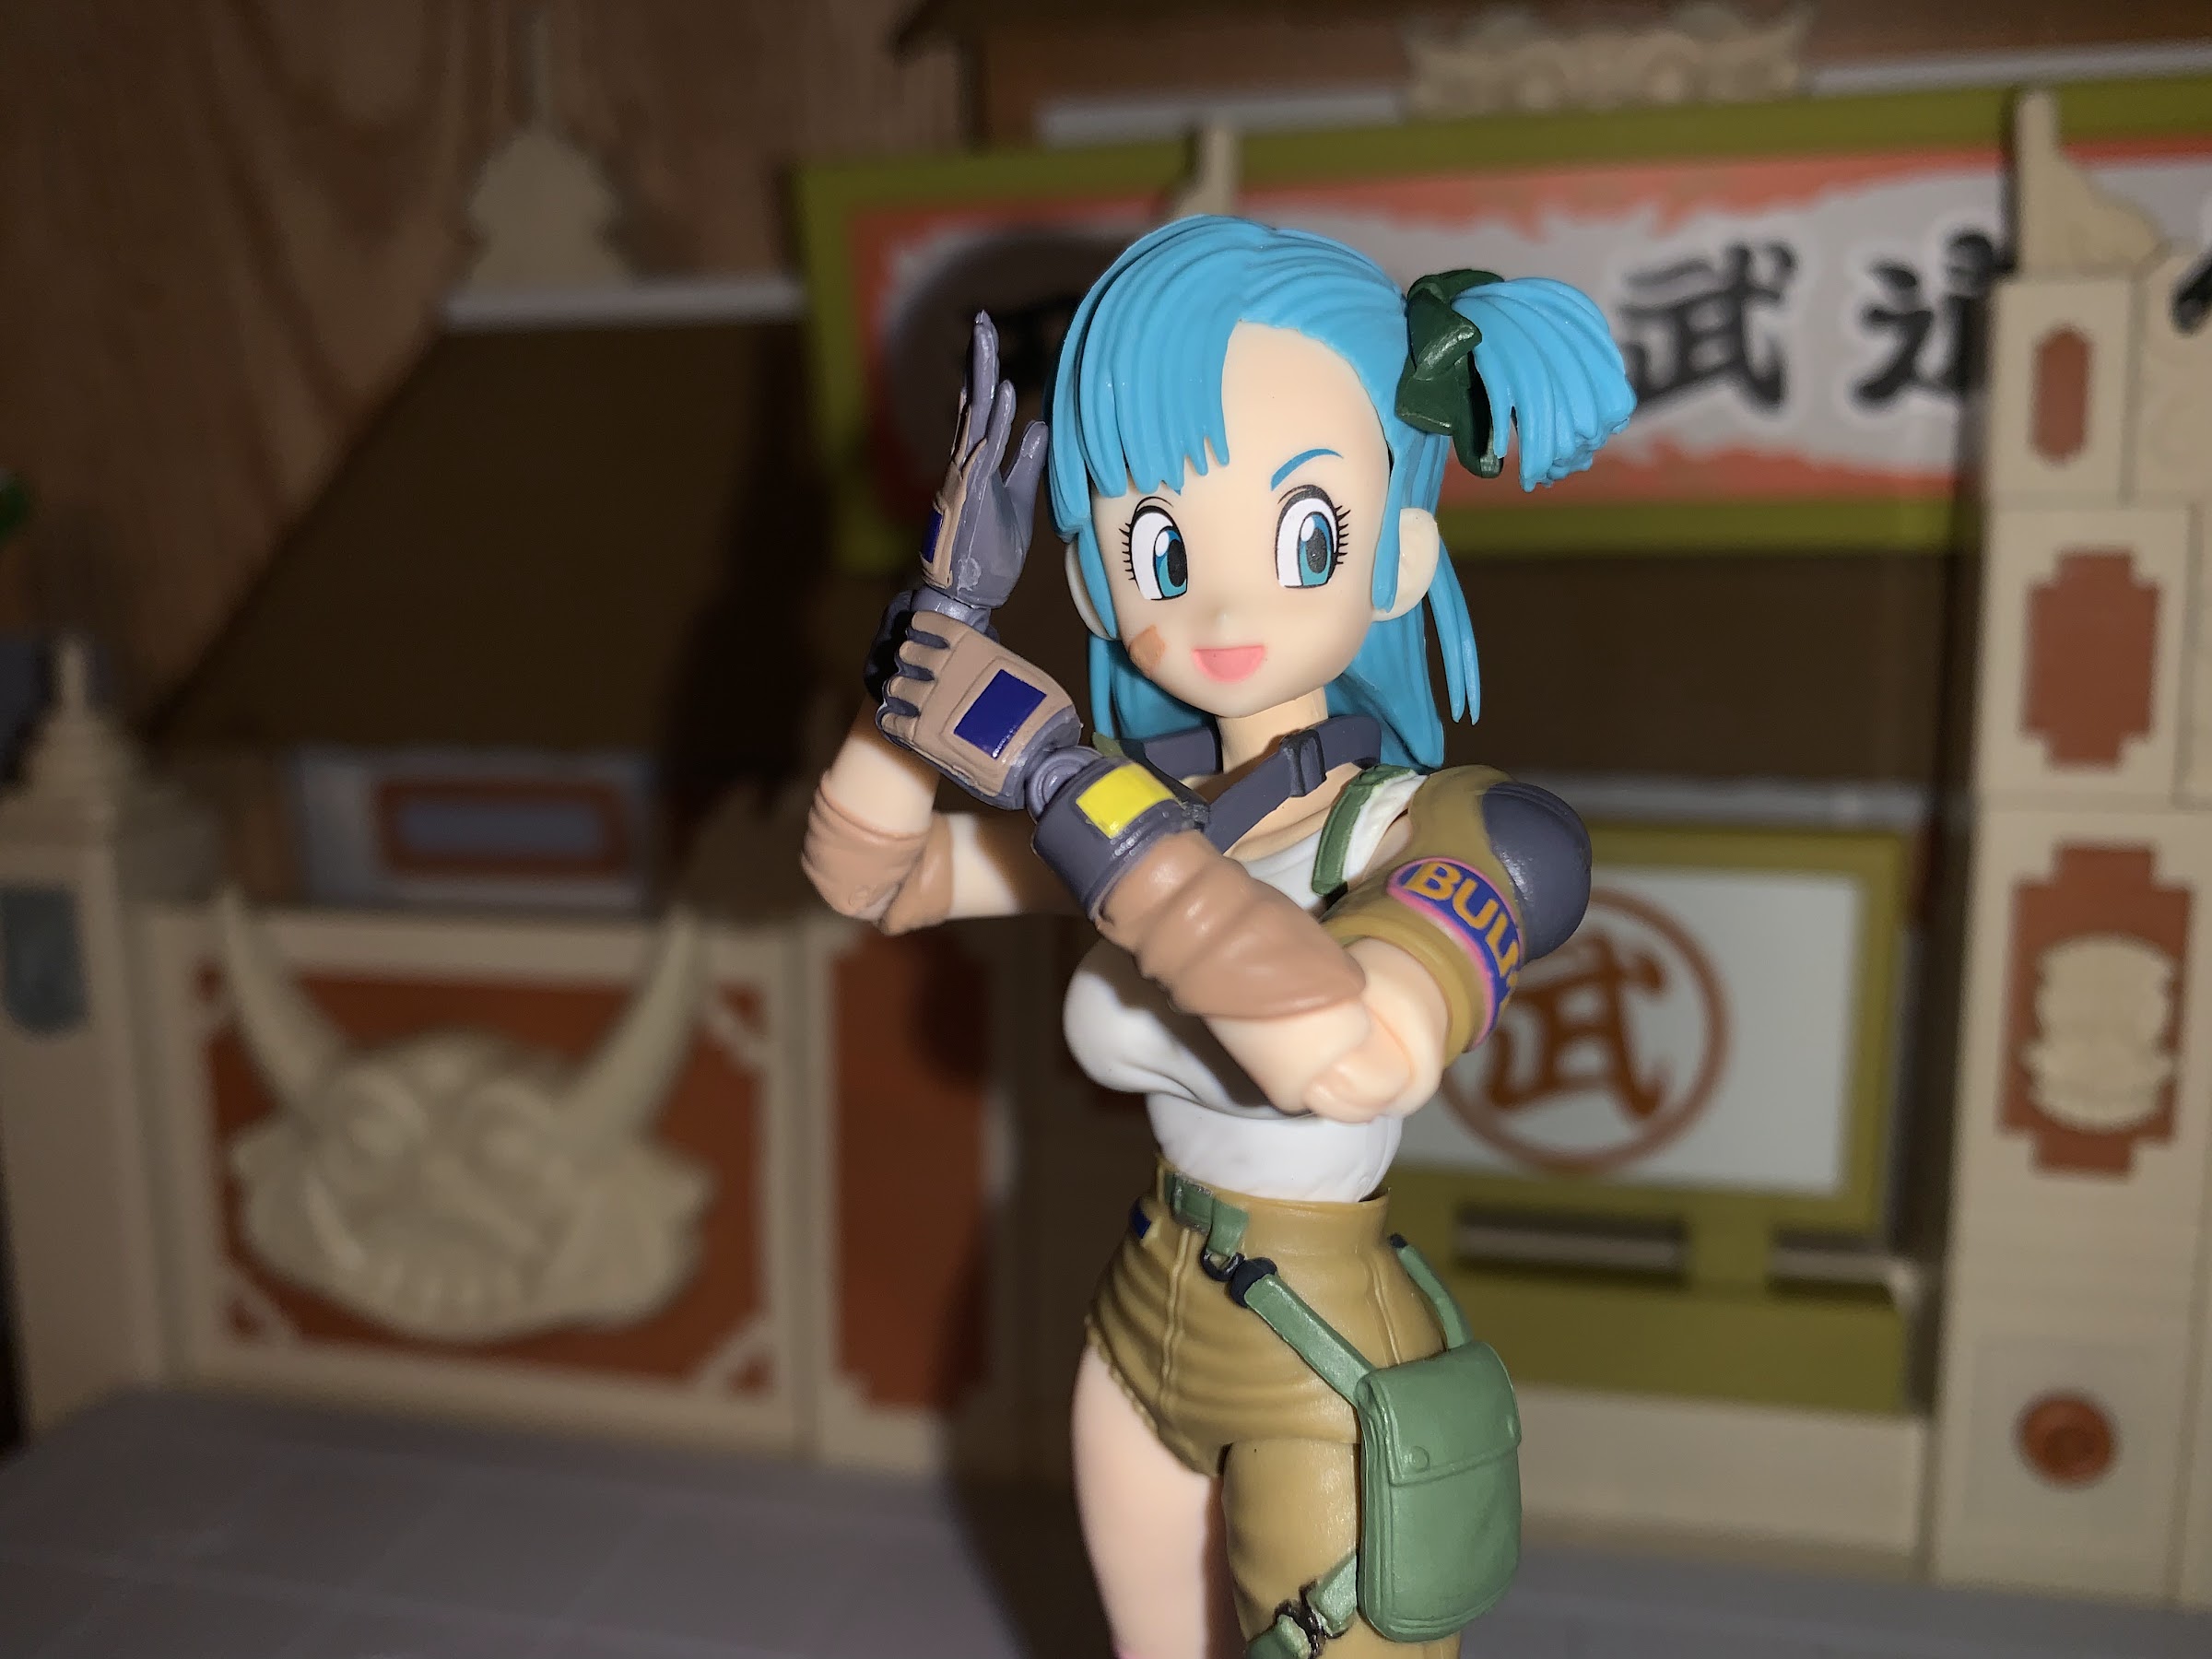
Bulma is sort of like a tale of two figures when it comes to the articulation: great on top, so-so below the waist. She can still do whatever you need her to. She’s more than capable of hitting the pose from those ending credits, as well as the other product shots on the box. And when it comes to her accessories, there are no problems there as well. Her main accessory is that machinegun she’s seen casually holding in the art. It has a sling that pegs into the rear and side so she can wear it over her shoulder, hold it by the top, or hold it in a more conventional firing position. The gun has a very long stock which makes it a challenge to position properly if you want her to look like she’s actually firing the gun. Not impossible, but it’s definitely not the position Bandai prioritized when developing it. She has those goggles I mentioned which are well-painted and look nice wherever you choose to put them. They just can’t actually fit across her face. She also has the Dragon Radar that the other Bulma comes with. This one has a different decal that doesn’t show any Dragon Balls. Just like with that Bulma, this one comes with a special right hand for the Dragon Radar to peg into since it’s such a small accessory. Definitely try not to drop it on a carpet. She also has an assortment of other hands and most seem like they serve a specific purpose. There’s a set of curved, open, hands that appear intended for holding the Dragon Ball or possibly handlebars. There’s a right, trigger, hand, a right fist, and a right, open, hand. That open hand appears to work in conjunction with a left hand that’s almost a fist, but her thumb is forward in a pinching position. Based on the rear of the box, it appears to be to simulate her pulling on her right glove (the open hand) which is certainly specific. There’s also a left, pointing, hand and a left gripping hand for holding the gun by the top of it as she is in the art. Lastly, there’s a five-star Dragon Ball and I think I now have all seven, plus the “pearl” one that came with Jackie Chun.

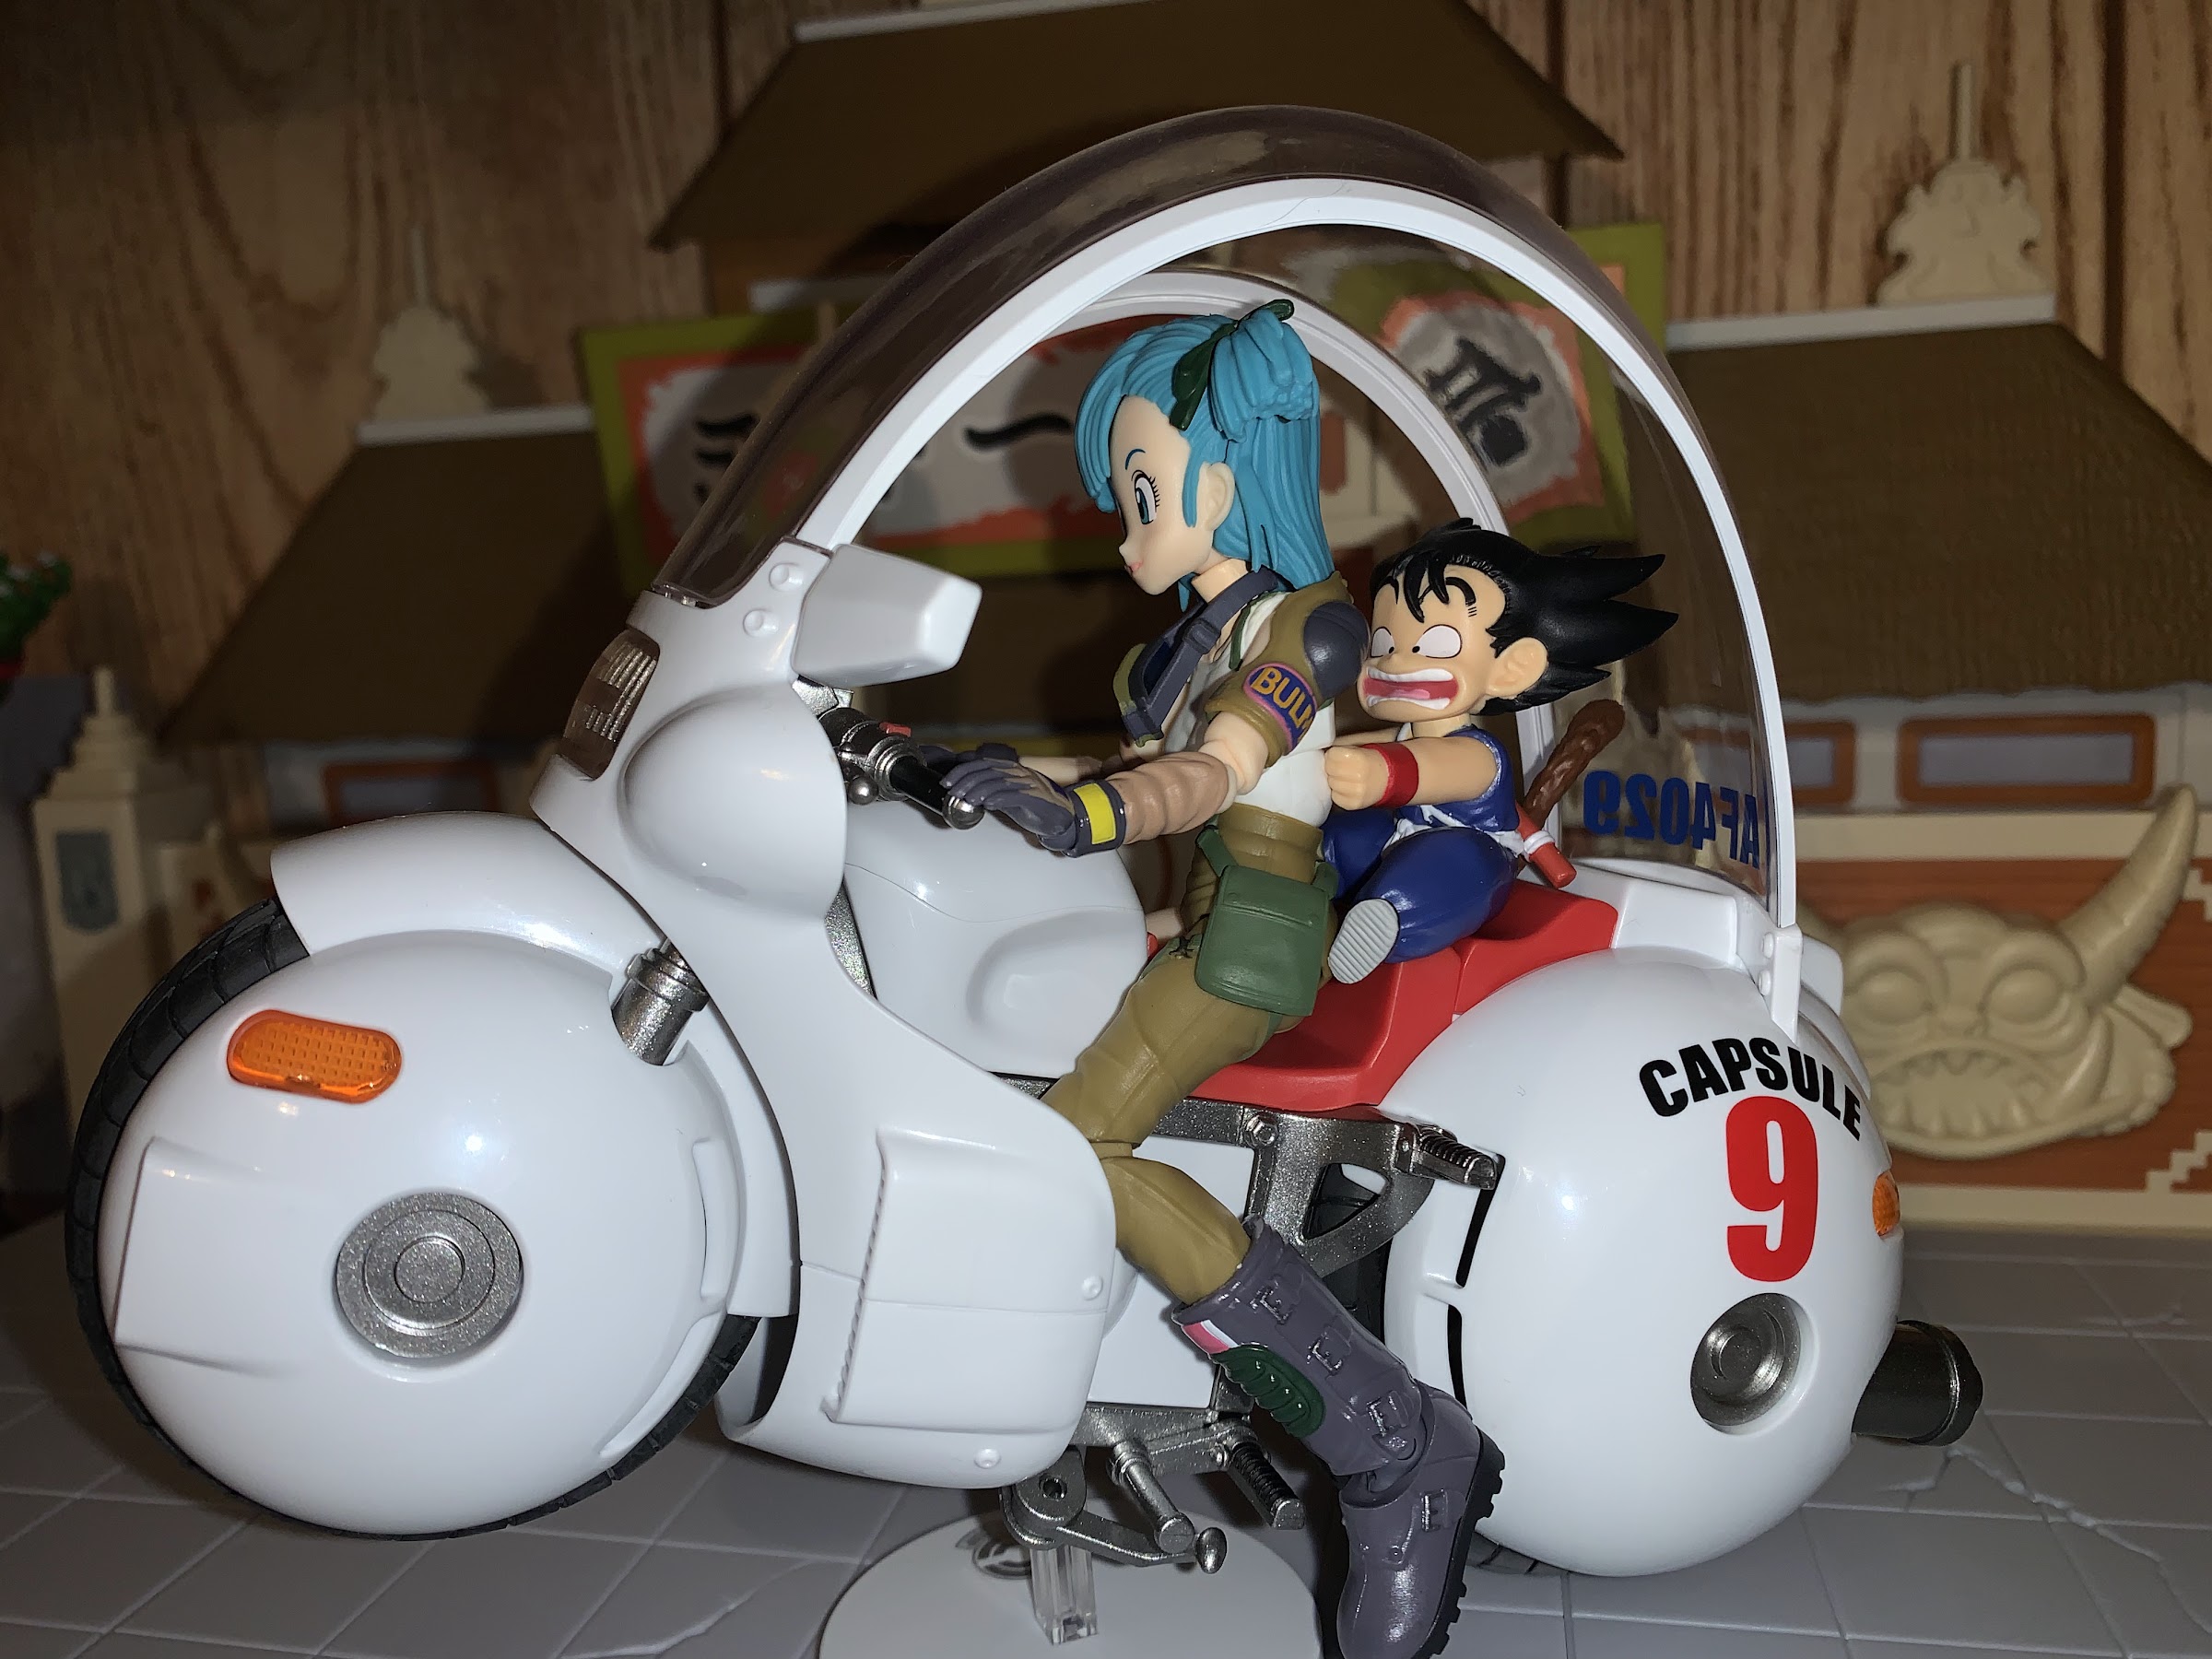
To go with all of that stuff are two additional portraits. Bulma comes with a standard smile in the box, plus an open mouth smile and a winking face. Swapping them is simple as her hair comes off granting access to the face-plate. What’s kind of neat is she can also use the face-plates from the second Bulma release. The smile expressions are basically the same, except this version has a band-aid on her cheek. The open mouth on this Bulma has her looking to her left, while the other is looking straight-ahead. The main difference between the two is the winking face for this figure, and the terrified scream on the other. I can’t see myself swapping faces between the two releases, but it’s nice to have that option. If you wanted to, you could also place her on the SHF Bulma’s Motorcycle accessory, though she doesn’t fit as well as the other Bulma. That’s due to the crotch piece limiting the legs at the hip so it’s a bit tricky to get her all the way down onto the seat and have her feet where they’re supposed to be. It can be done, but that bike definitely works better with the other Bulma since she has a new skirt piece specifically designed to get her properly seated.
This is a solid release from Bandai for the SHF line. Despite this version of Bulma never appearing in the anime proper, it’s still associated with an iconic image of the character so it’s not as if it’s unwanted. It’s different enough from Bulma – Adventure Begins that it serves a purpose. It can do the pose that it needs to do, but it also has a range of other possible poses that all look good on a shelf. The only changes I’d make to the figure would be to improve the grip on the trigger hand and apply a wash or something to the hair. Otherwise, I’m happy with the sculpt and paint and the articulation is sufficient for what this figure needs to do. This wasn’t the version of Bulma I decided I needed to have for my Dragon Ball collection, but now that I have it I’m certainly glad it’s here.

December 25th, 2021 at 11:49 am
[…] S.H.Figuarts Bulma — The Christmas Spot […]
LikeLike